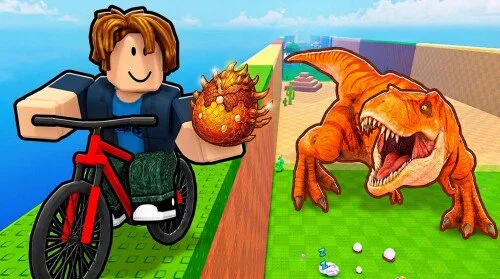
Speed is the license to ride. The plot treadmill is where that license is trained. A motorcycle without treadmill time is mostly a costume.
What training is for
You interact with the treadmill on the plot. Cash upgrades add tiers and click or tap multipliers so each burst is worth more. Public writeups do not publish the exact speed number required for each zone. Use a field test instead of a rumor spreadsheet:
- Note the farthest band you can already round-trip while still placing eggs at home.
- Train until the next upgrade changes how the ride feels.
- Probe one step farther with a tiny egg goal.
- If the return is unstable, drop back and train.
- If the return is stable, that band is the new baseline.
Community menus call the bands Animal Zones 1–8. Higher numbers are treated as higher demand. They are not confirmed official biome names.
How the layers stack
| Layer | Job | When it is the buy |
|---|---|---|
| Treadmill | Decides which routes are even possible | You bounce off the next band |
| Motorcycle | Turns trained speed into a ride you can finish | You can train but travel still fails |
| Auras | Polish a bike that already clears a route | Access and plot space are already fine |
| Plot space | Turns eggs into animals | You return with eggs and no slot |
Auras and bike upgrades amplify the treadmill. They do not replace it. If Cash is tight, fund the layer that removes the loudest block.
Session length
A short login can be one code check, one cheap speed upgrade, and one focused treadmill block. A longer login alternates training with steal loops and pushes one band farther only after two clean baselines. If the plot already fills every session, capacity is a better buy than the highest zone number in a chat message.
Speed helps the Animal Index only because it buys more honest attempts. It does not create a published pity timer.