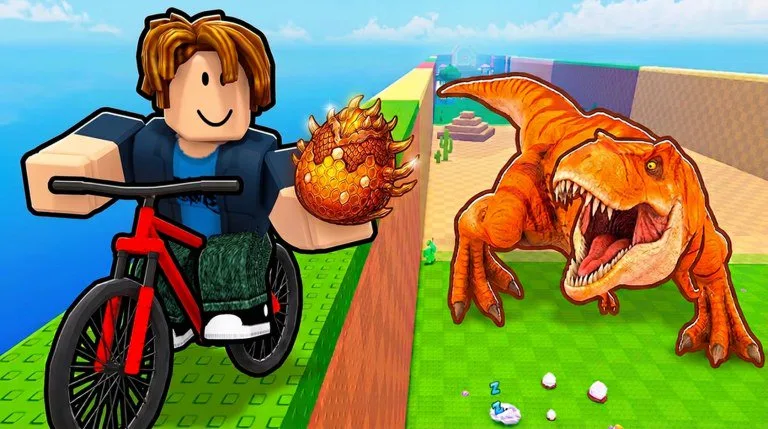
The plot builds speed. The ride spends it. Best Animal Productions! has not published a biome name list or numeric speed gates that this wiki can cite. What community tools and automation menus repeat is a numbered set: Animal Zones 1–8.
Treat that numbering as shorthand:
- Lower numbers are the earlier, lower-demand routes.
- Higher numbers are treated as higher speed demand and better egg chances.
- Labels inside third-party menus are unofficial.
- A still image of the experience is not a labeled map of all eight bands.
Travel
Long-term travel is the motorcycle. Walking the whole ladder is not the plan. Train until a nearby loop is controlled, buy the minimum bike step that makes the next band rideable, and leave the plot with a return plan.
Probe method:
- Record the highest band you can round-trip while still placing eggs.
- Train and buy the cheap speed step you can afford.
- Ride one step farther with a one or two egg goal.
- Promote the band only if arrival and return are both stable.
- Farm that band for volume only after the probe works.
A short success on a lower band compounds faster than a failed trip toward Zone 8.
Route shape
- Train if the target still feels shaky.
- Count free egg slots.
- Ride a band you can clear, sized to those slots.
- Collect only what you can place.
- Return when the slot budget is filled. Skip the extra detour.
- Place and hatch so animals start earning.
- If the Index is the goal, pick the next ride from a real gap.
Ten-minute sessions stay local. Longer sessions may probe one band farther after two clean baselines.
If the map feels blocked
Spend in this order unless a patch changes the economy: active codes, treadmill tiers, the motorcycle step for the next comfortable band, plot capacity if returns already overflow, then auras. A player who cannot reach an early band does not need aura polish first.
Third-party zone teleports are not how this guide teaches the map. They sit outside normal play and can violate Roblox rules.